
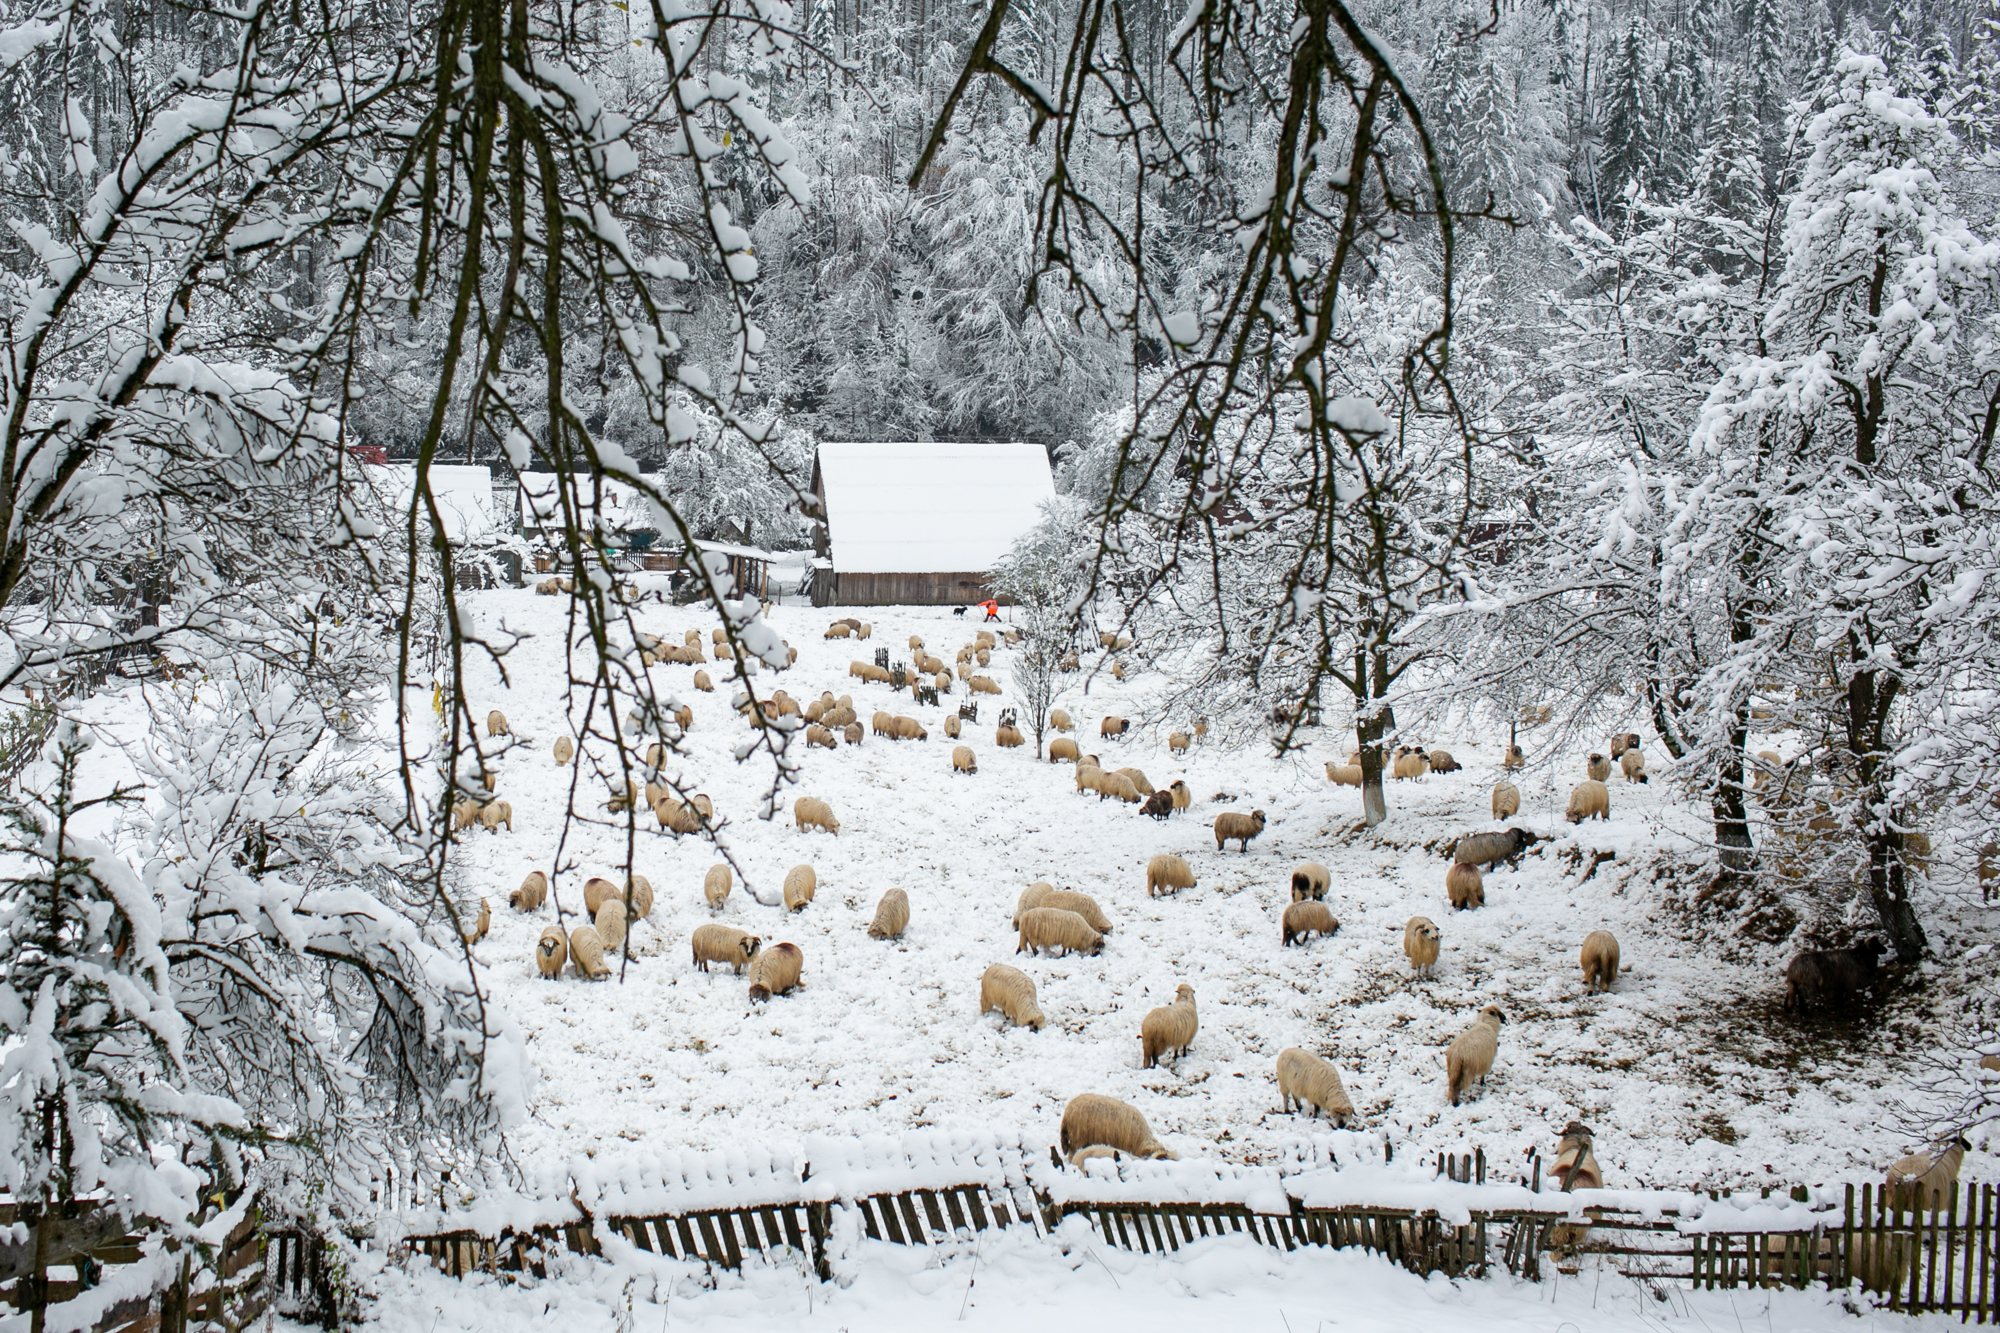
Why snow comes out grey
Your camera’s light meter assumes every scene is a middle grey. Point it at a bright white field and it darkens the picture to match, so the snow turns dull.
The fix is to add exposure: start at +1 and go up to +2 in bright sun. Check the histogram rather than the screen, which is hard to judge in bright light.
What to bring
Cold is harder on your equipment than on you. Batteries drain quickly, and fingers stop working long before the light runs out.
- Spare batteries, kept warm in an inside pocket
- Thin gloves you can work the camera in
- A sealable bag for the camera before you go back indoors, so condensation forms on the bag and not on the lens
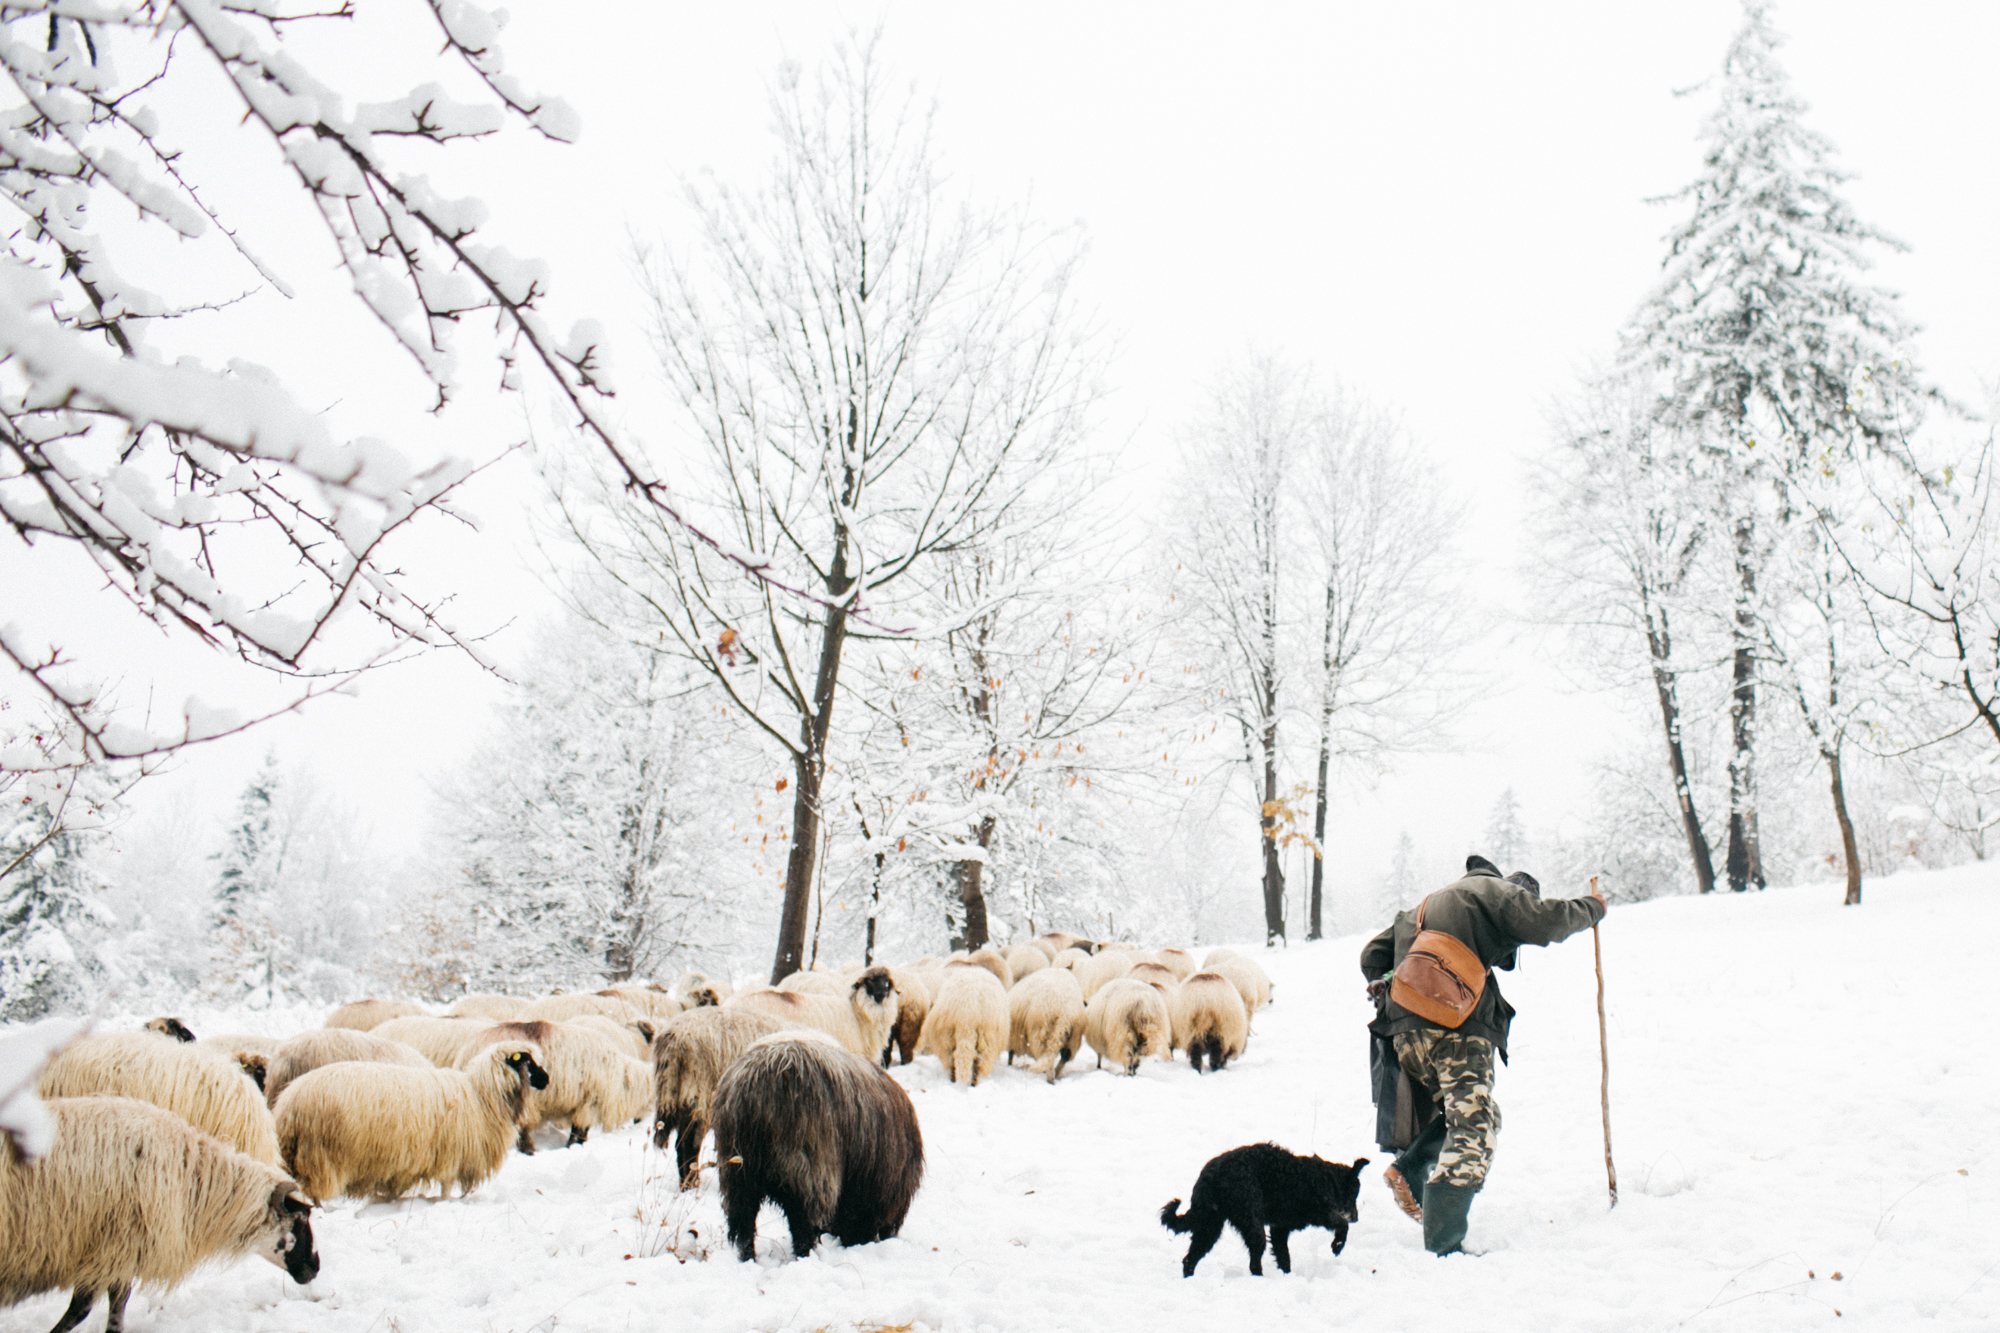
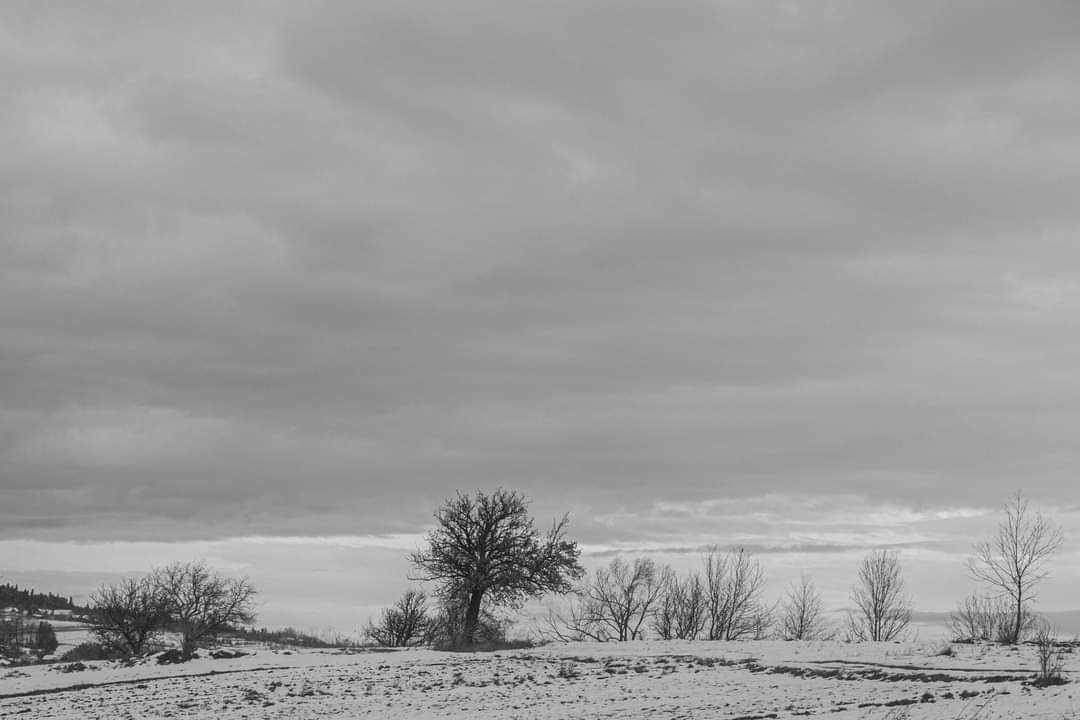
Dark shapes against snow: a shepherd and his dog, and bare trees on an open field.
Find something dark
A field of fresh snow is beautiful to stand in and surprisingly empty in a photograph. It needs something dark to give it scale and a place for the eye to rest.
Snow needs a dark shape to give it scale — a tree, a fence, a flock of sheep.
Overcast days work better than you might expect: the light is soft and even, and dark shapes stand out clearly against the white.
Mind the blue
In shade and on cloudy days, snow picks up a blue cast. Sometimes that blue is exactly the mood you want. When it isn’t, set white balance to cloudy or shade, or warm the picture up when you edit.